Crew Section
You can directly access all the members in your workspace from this section and change settings like - User roles, invite people, create user groups, and activate/deactivate users.
How it works -
1. Goto the Crew Section. You can find it by-
a. Clicking on the Workspace dropdown on the top left, if you are part of a single workspace.

OR
b. Clicking on the product Icon from the left navigation above the Settings icon, if you are part of multiple workspaces.
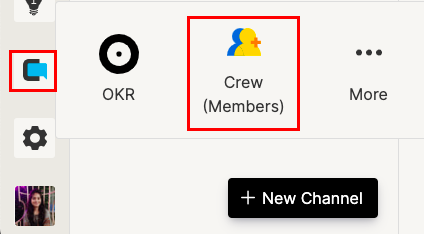
Select the Crew option and you will be redirected to the Crew Page.
2. Invite and Add member
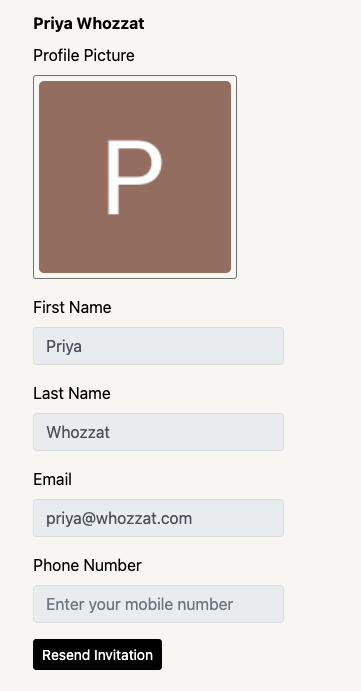
In this section, a list of users by their email id will be shown who have been invited to the workspace but have not joined it yet.

By clicking on any user's email, his profile will open on the right. At the bottom, there is an option to resend the invitation mail to the user.
The admin of the Workspace will see additional options to invite users, whitelist the domain, and add users to the Inbox tool.
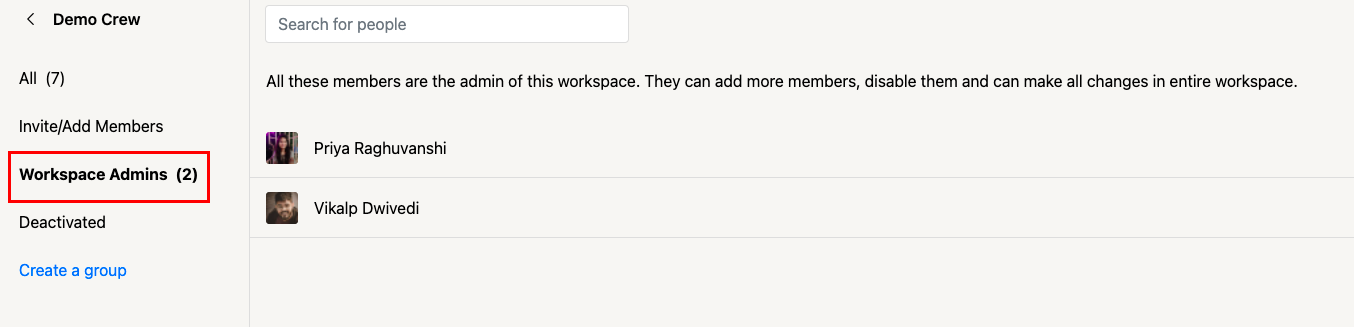
3. Workspace Admin -
The user can see all the admins of the workspace from this section.
4. Deactivated members -
All the deactivated members of the workspace will be shown in this section.
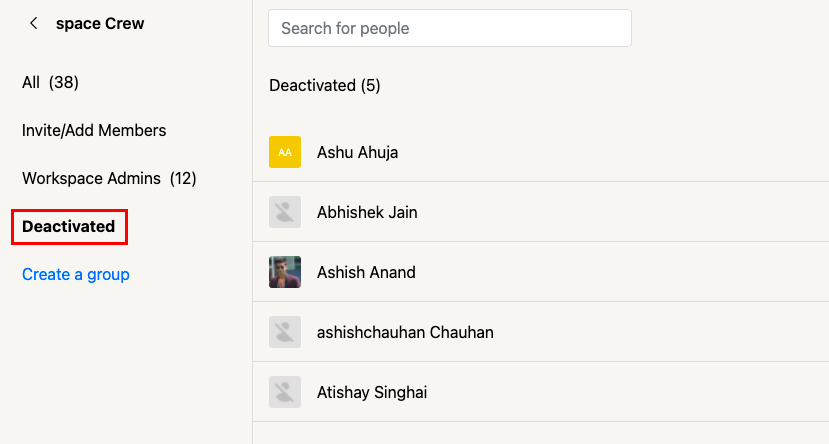
Only the Admin of the workspace can activate a deactivated user from here.
5. User groups-
Below Workspace Admin, you can see all the user groups created in your workspace with their user count.
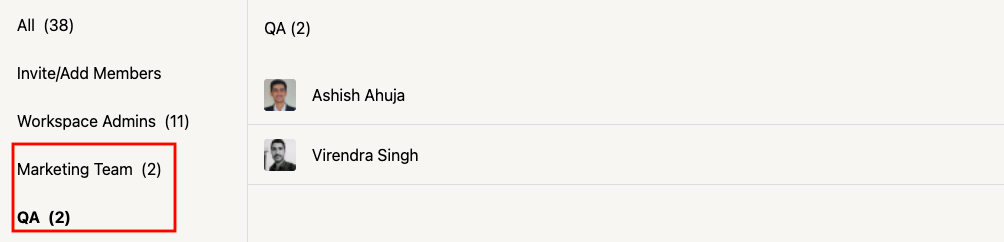
Users can only remove users from the group created by them. Though the Admin has the access to edit all the groups. You can also create a new group anytime.
Benefit-
A single Crew section allows you to manage the people in your workspace from a single place.